Pre-sprouting during a
harsh winter and
short spring
Use a frost-free barn
Make sure there are no residues of sprout inhibitors in your shed
Fill the pre-sprouting bags about 6-8 weeks before the expected planting date
Photo: pre-germination near Tromsø, Norway. (300 km. above the Arctic Circle)

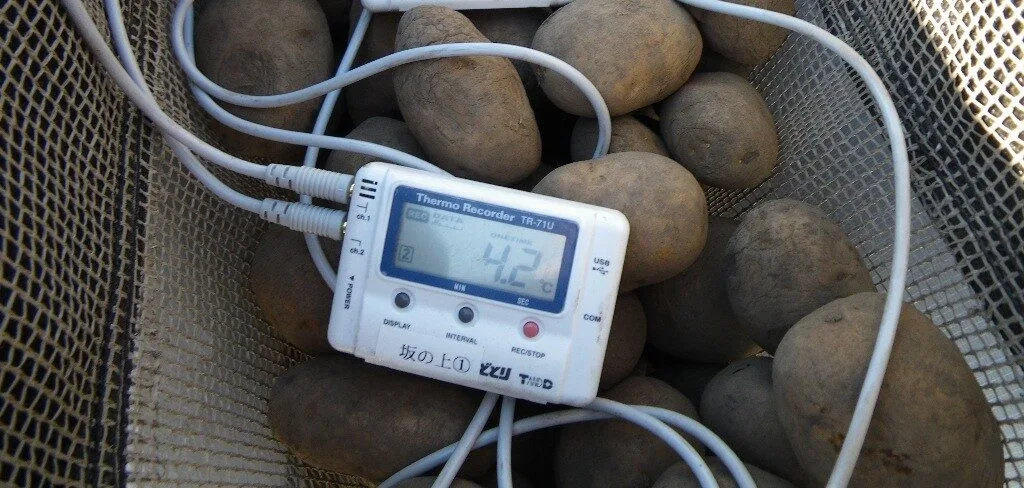
Seed potatoes must not freeze or suffer cold damage.
If seed potatoes are at a temperature of 0°C to 3°C for more than 5 days, cold damage begins. If cold damage occurs, the tubers look fine but germinate poorly or not.
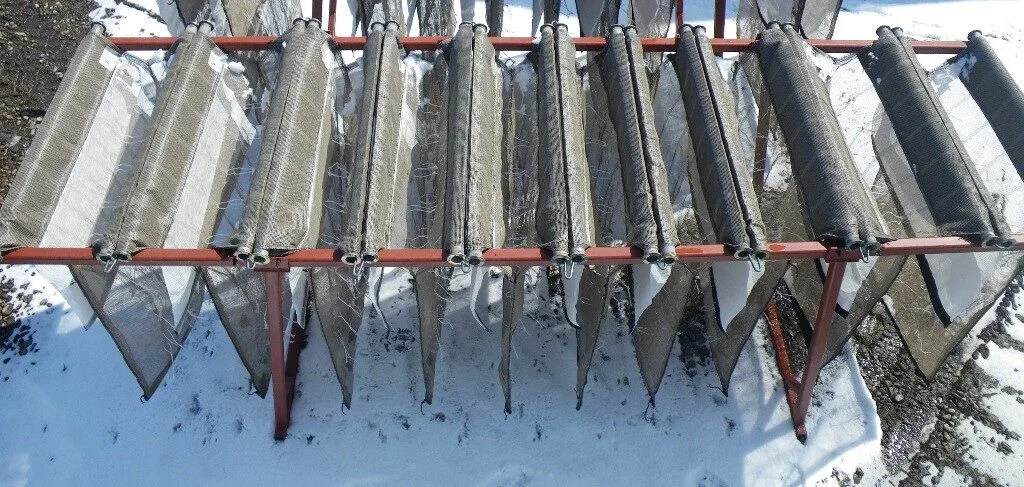
Photo: Hokkaido, Japan
The sprouting of seed potatoes must get going. When the white tips of the sprouts become visible, braking by wind and UV part of the light starts. This keeps the sprouts short and strong so they do not break off when planting. The UV part of the light gives the sprouts a green or purple color.
For small-scale pre-germination, a fluorescent lamps (TL lamp) are suitable.
Advice: 1 lamp per pre-germination rack. For large-scale pre-germination, gas discharge lamps (HPI-T, HID lamp) are suitable. Advice 1 lamp per 6-8 germination racks
Advice: hang these lights 3/4 part from the ceiling. 1/4 part on a cart illuminating the pre-sprouting bags from the side. Drive the cart 1 m. further each day to reduce shadow effect.
Do not use LED lamps: these lamps have no effect because there is no UV light in them
Do not use UV lamps: these lamps work too brightly and are bad for your health.

If the temperature is above 2°C the doors can open. Maybe only for a short time. The draft removes condensation and CO2.
Ideally, there should also be doors or shutters at the back of the barn.
Photo: Zeeland, Netherlands
The best curing of the sprouts is done outdoors.
Note the homemade structure to cover the sprouting racks in case of night frost.
Make sure the sprouting racks can go inside in case of frost.
Photo: Estonia

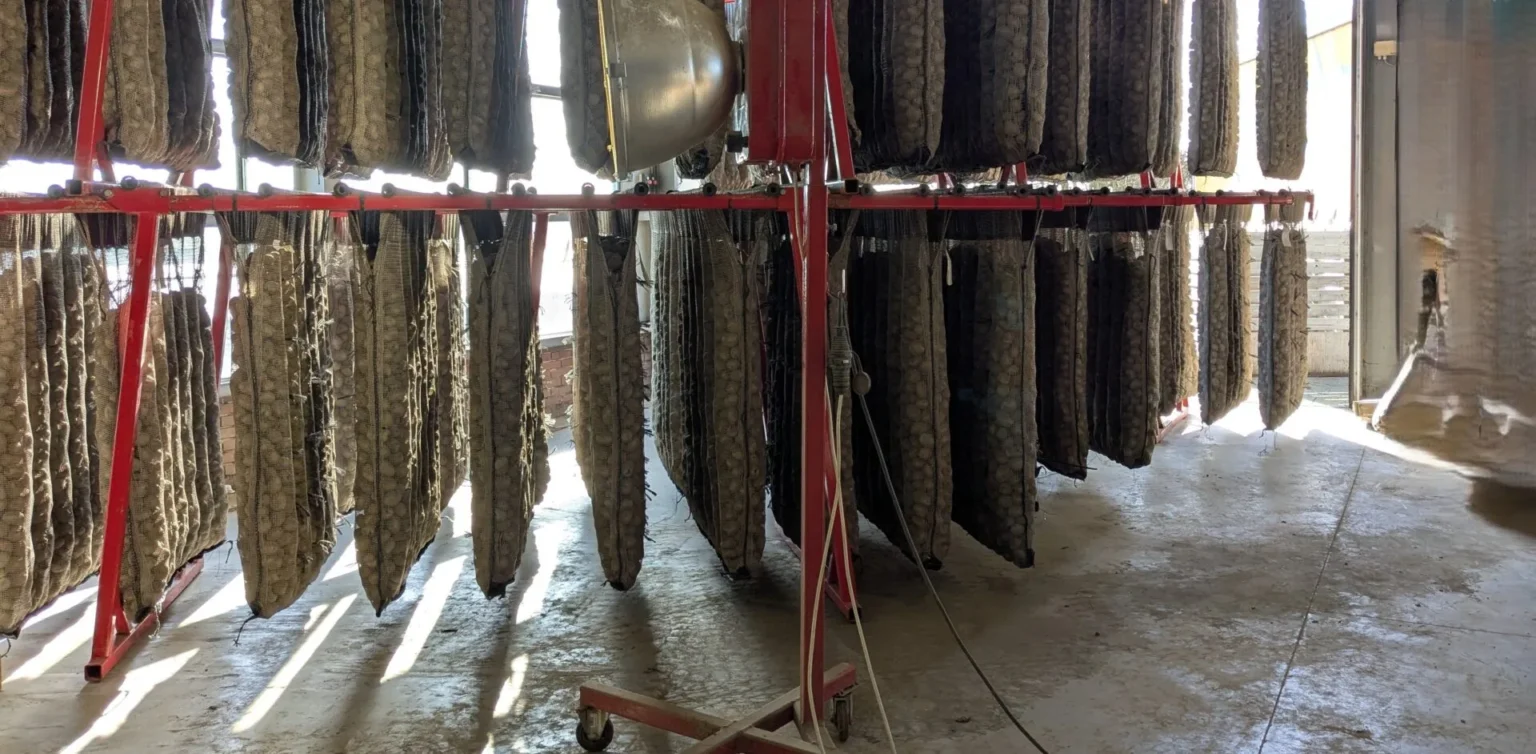
HPI lamps on the ceiling provide a lot of light, especially when combined with good reflection from white walls.
Curious about what
Cor Joppe
can do for you?
Presprouting.com uses functional and analytical cookies for website optimisation and statistics. Would you like to know more? Click here for our cookie policy.